How to Fix a Car’s Plastic Bumper Damage?
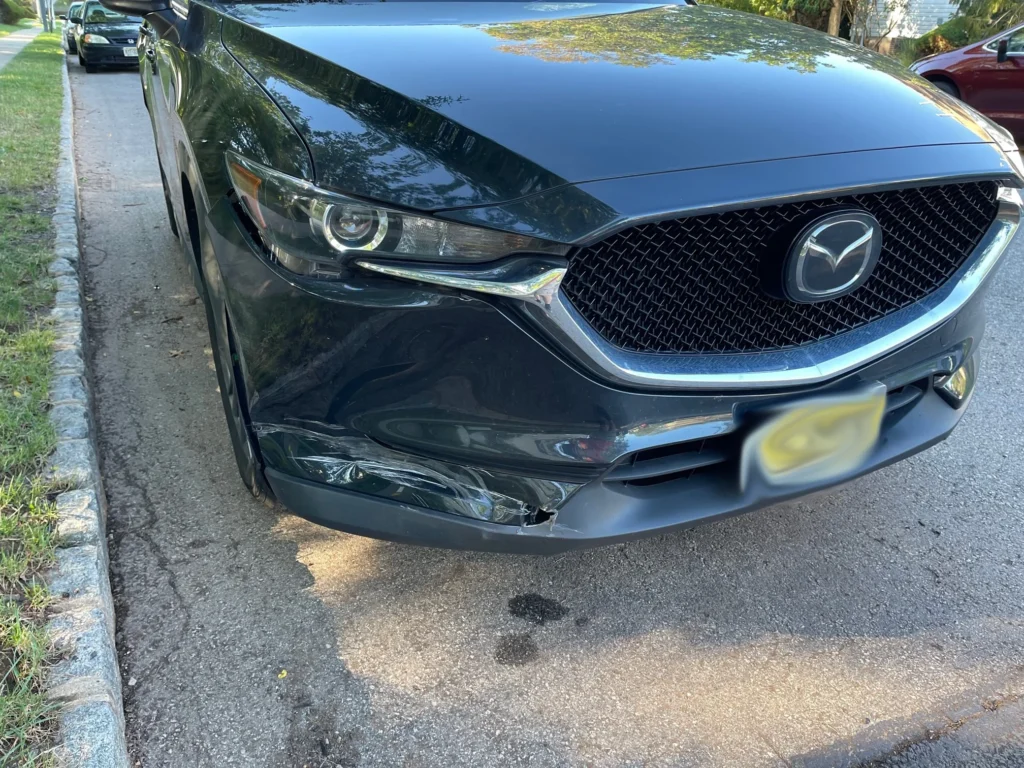
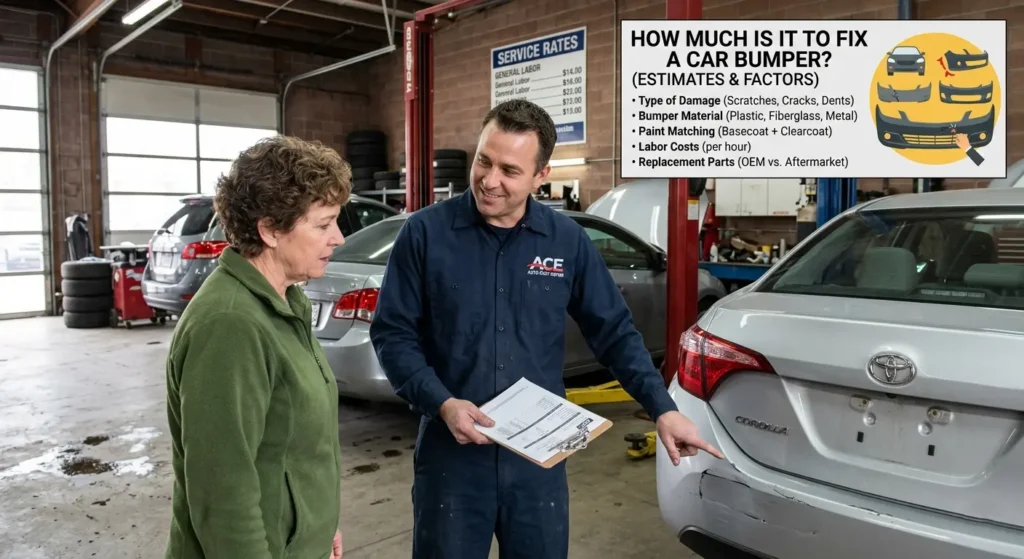
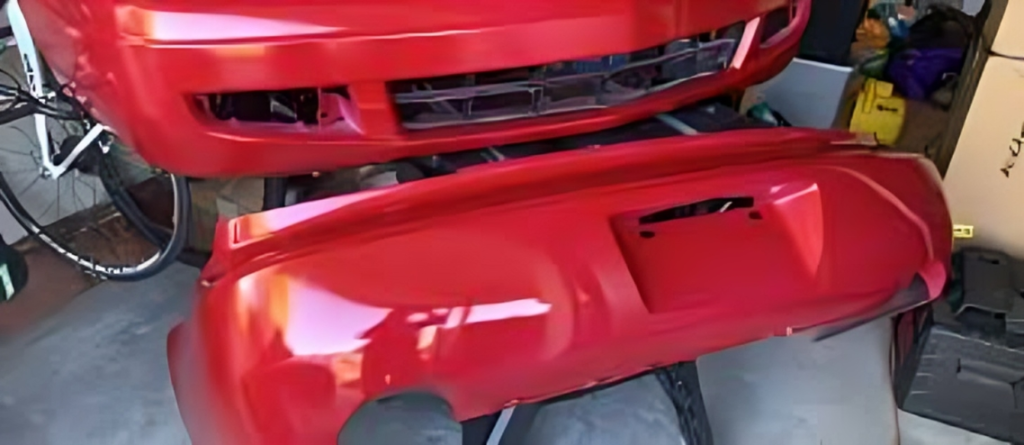
Learning how to fix a car’s plastic bumper damage is simpler than it seems if you follow the right steps. Minor dents can be softened with a heat gun and pushed back into shape, while cracks can be repaired using plastic welding with a soldering iron and polypropylene filler rod, or a specialized two-part plastic adhesive. For smaller cosmetic issues like scratches or bubbling, proper cleaning, sanding, and using an adhesion promoter with flexible plastic repair material ensures a smooth, long-lasting finish. A simple trick to prevent cracks from spreading is to drill a small hole at the end of the crack, a classic fiberglass method. By doing these repairs yourself, you can reduce plastic bumper repair cost and avoid high car bumper crack repair cost, making DIY bumper repair both effective and budget-friendly. Plastic Bumper Damage Plastic bumpers are designed to absorb impacts and protect your car, but they are still susceptible to various types of damage over time. The most common issues include scratches, cracks, and dents. Scratches are usually superficial and affect only the surface paint or clear coat. While they may look unsightly, they often do not compromise the structural integrity of the bumper and can be repaired easily with polishing or touch-up paint. Cracks are more serious, as they indicate that the bumper material has been compromised. Small cracks might be repairable at home using a plastic bumper crack repair kit, which often includes adhesives, fillers, and tools specifically designed for fixing plastic panels. Larger cracks or cracks that penetrate the bumper fully may require professional attention to ensure proper alignment and strength. Dents occur when an impact pushes the plastic inward. Depending on the severity, dents can sometimes be popped back into shape using heat, such as a heat gun, to soften the plastic and allow it to be reshaped. It’s also important to distinguish between minor cracks and major damage. Minor cracks are typically shallow, affecting only the surface and are easy to repair, while major damage involves deeper splits, multiple cracks, or structural weakness that may require plastic welding or replacement. Understanding these differences is crucial to choosing the right repair method and tools, preventing further deterioration, and keeping plastic bumper repair costs manageable. Tools and Materials You’ll Need Repairing a damaged plastic bumper requires the right tools and materials to ensure a smooth, durable finish. One of the most essential items is a plastic bumper repair kit, which usually includes adhesives, fillers, and basic tools designed specifically for plastic repair. These kits simplify the repair process, especially for DIY enthusiasts who want to fix minor cracks and dents at home. Another key material is plastic bumper filler. This is used to fill small cracks, scratches, or surface imperfections, creating a smooth surface ready for sanding and painting. Using the proper filler ensures that repairs blend seamlessly with the rest of the bumper and remain durable over time. You will also need basic tools such as sandpaper and a putty knife. Sandpaper is important for preparing the damaged area by smoothing rough edges and ensuring proper adhesion of fillers or adhesives. A putty knife helps spread filler evenly across the surface, avoiding lumps or uneven patches. For small cracks, superglue or car bumper repair glue can be extremely effective. These adhesives bond the plastic quickly and firmly, making them ideal for minor repairs without the need for full disassembly. Optional items like masking tape and paint allow for finishing touches, ensuring the repaired area matches the rest of the bumper. By gathering these tools and materials, you can reduce plastic bumper repair costs and achieve professional-looking results at home, saving both time and money. Step-by-Step Guide to Fix a Cracked Bumper Repairing a plastic bumper may seem challenging, but following a structured approach makes it manageable. From cleaning the damaged area to applying fillers and adhesives, these steps will guide you in fixing cracks effectively while reducing plastic bumper repair costs. Step 1: Clean the Damaged Area The first and most important step in repairing a cracked bumper is thorough cleaning. Dirt, grease, and debris on the damaged surface can prevent adhesives or fillers from bonding properly, leading to a weak repair. Begin by washing the bumper with mild soap and warm water, scrubbing gently to remove surface grime. For stubborn grease or oil, rubbing alcohol or a degreasing solution can be applied to ensure the area is completely clean. After washing, dry the bumper thoroughly with a clean microfiber cloth. Ensure there is no moisture trapped in the crack, as this can interfere with plastic welding, fillers, or glue. If you are using a plastic bumper crack repair kit, most kits emphasize that cleaning is crucial for optimal adhesion. Proper preparation at this stage not only strengthens the repair but also ensures a smoother finish when sanding and painting later. By taking the time to clean the damaged area carefully, you set a solid foundation for all subsequent steps, whether you are using plastic bumper filler or car bumper repair glue. Skipping this step can compromise the repair, increasing the risk of further damage and higher car bumper crack repair costs. Step 2: Assess the Crack After cleaning the damaged area, the next step is to carefully assess the crack. Not all bumper cracks are the same, and understanding their size, depth, and location will help determine the best repair approach. Small surface cracks on the outer layer can often be repaired without removing the bumper, while larger cracks or splits that extend through the plastic may require more extensive work. If you notice that the crack is minor and the bumper is still firmly attached to the car, you can proceed with a DIY repair. This is where knowing how to fix a cracked bumper without removing it becomes important. Repairing the bumper in place saves time, reduces hassle, and avoids additional labor like detaching and remounting the bumper. Examine the crack under good lighting, and gently flex the